|
|
## $PyTorch$ 安装
|
|
|
|
|
|
### 1、查看本机的$CUDA$版本
|
|
|
|
|
|
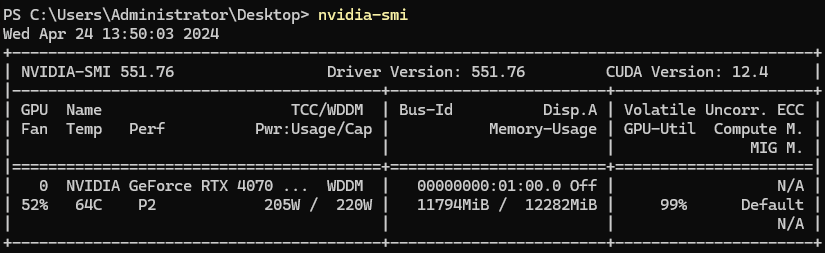
cmd命令行输入`nvidia-smi`,在第一行最右边可以看到CUDA的版本号,我的版本是12.4
|
|
|
|
|
|
|
|
|
|
|
|
### 2、安装Pytroch
|
|
|
|
|
|
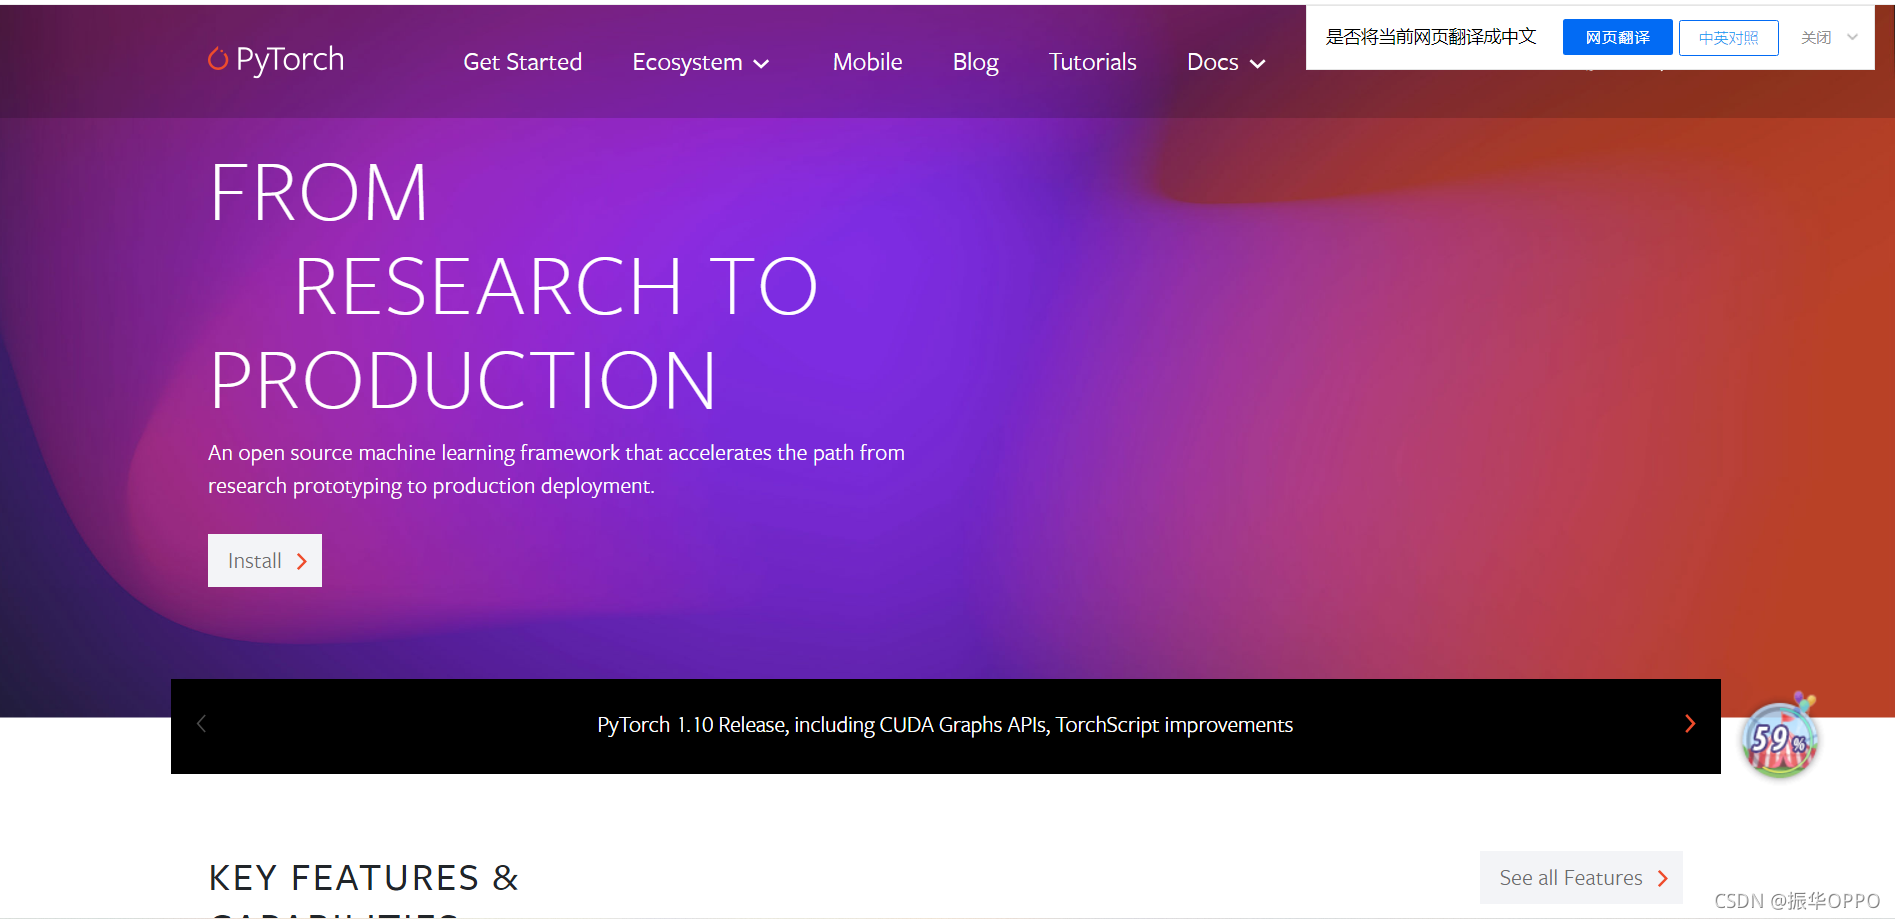
(1)、官网:https://pytorch.org/
|
|
|
|
|
|
|
|
|
|
|
|
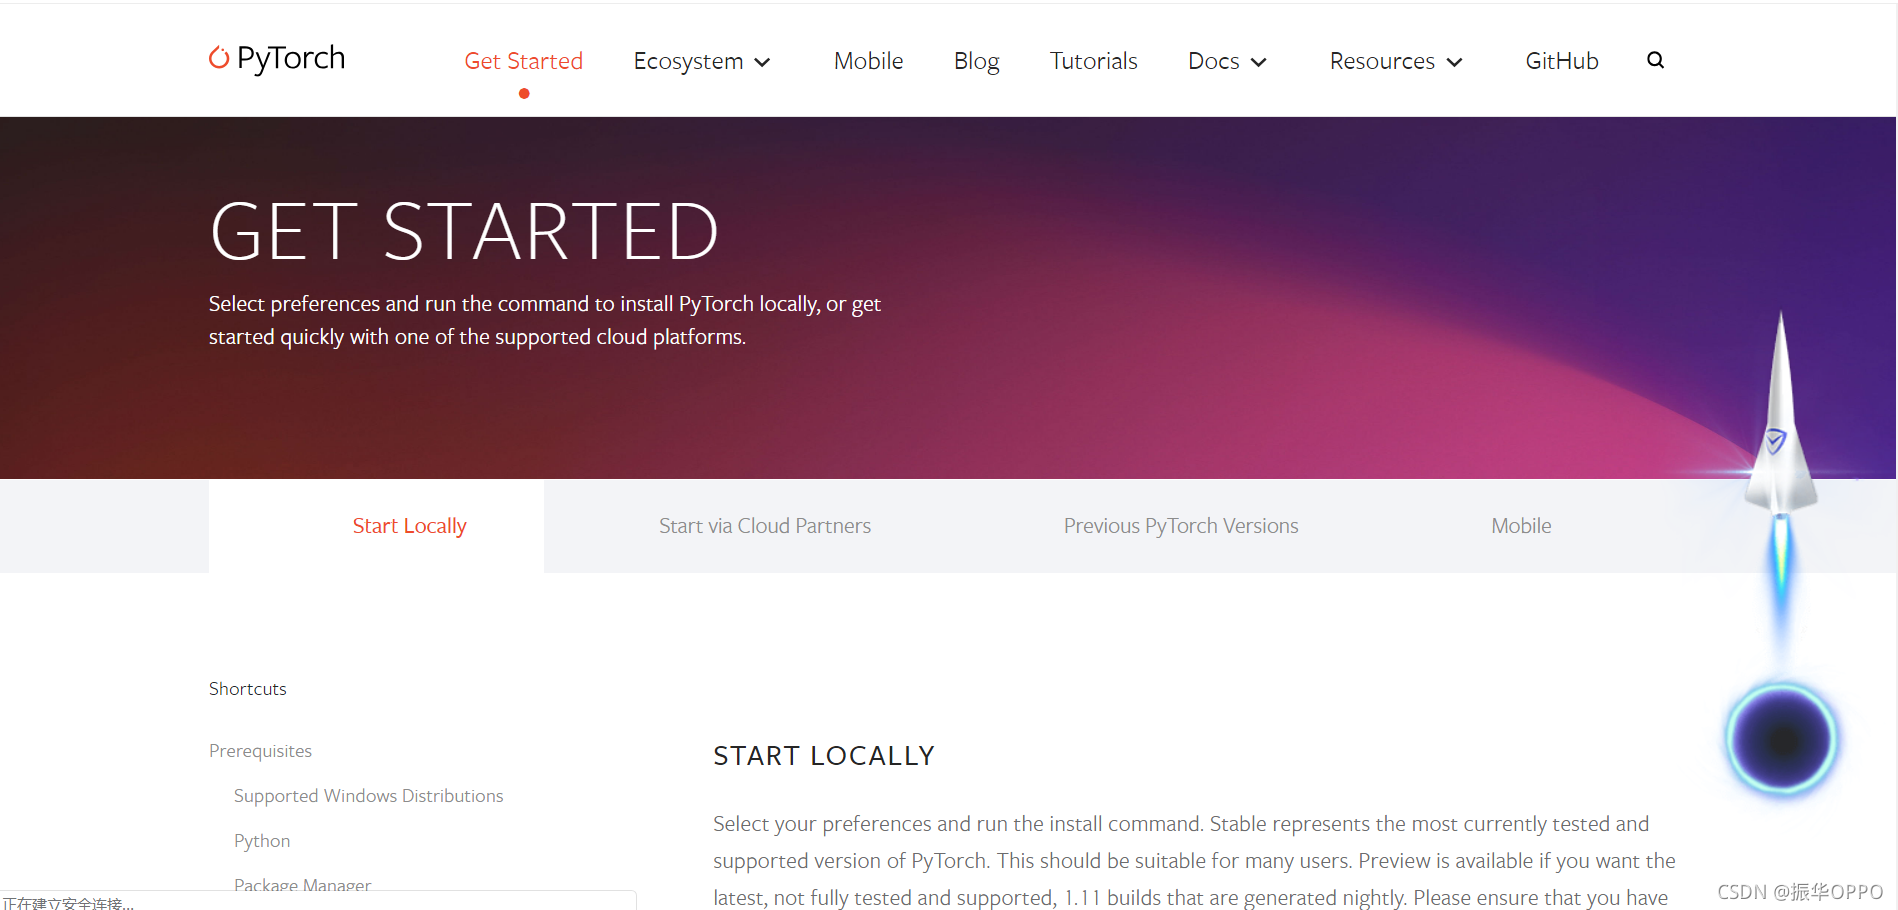
然后选择Get Started,就是如下界面
|
|
|
|
|
|
|
|
|
|
|
|
|
|
|
|
|
|
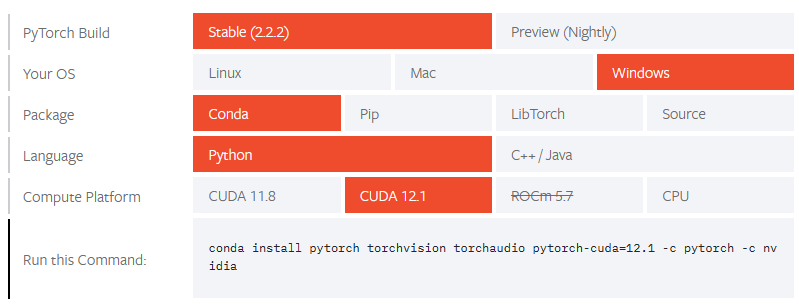
(2)、这里进行$Pytorch$版本的选择,首先我选择的是$Stable$稳定版,然后$OS$是$Windows$系统,$Package$包就使用$Conda$,$Language$肯定选$Python$,最后的$Compute$ $Platform$ 选择 $CUDA12.1$。
|
|
|
|
|
|
|
|
|
|
|
|
> ```shell
|
|
|
> conda install pytorch torchvision torchaudio pytorch-cuda=12.1 -c pytorch -c nvidia
|
|
|
> ```
|
|
|
|
|
|
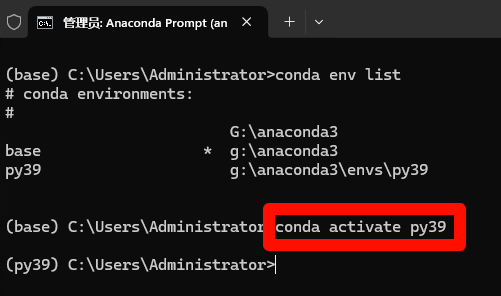
3、安装下$Anaconda$并创建一个$Python$环境,安装的是$python3.9$。
|
|
|
|
|
|
```
|
|
|
conda activate py39
|
|
|
```
|
|
|
|
|
|
|
|
|
|
|
|
4、关闭掉$VPN$,然后执行:
|
|
|
|
|
|
```shell
|
|
|
# 解决一些环境变量问题
|
|
|
G:
|
|
|
cd G:\anaconda3
|
|
|
copy Library\bin\libcrypto-1_1-x64.dll DLLs\.
|
|
|
copy Library\bin\libssl-1_1-x64.dll DLLs\.
|
|
|
|
|
|
#开始安装
|
|
|
conda install pytorch torchvision torchaudio pytorch-cuda=12.1 -c pytorch -c nvidia
|
|
|
```
|
|
|
|
|
|
|
|
|
|
|
|
> **注:如果环境变量不对了,需要重置一下环境:**
|
|
|
|
|
|
```console
|
|
|
conda config --remove-key channels
|
|
|
```
|
|
|
|
|
|
|
|
|
|
|
|
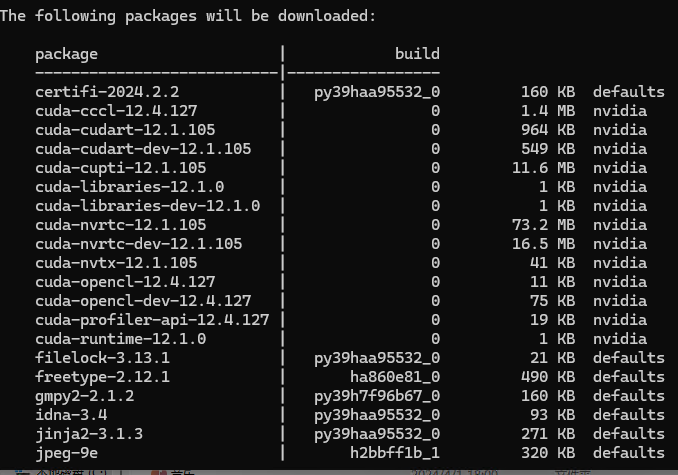
5、可以看到将要安装的包里面有$pytorch$和$cudatoolkit$,输入$y$确认,然后回车
|
|
|
|
|
|
|
|
|
|
|
|
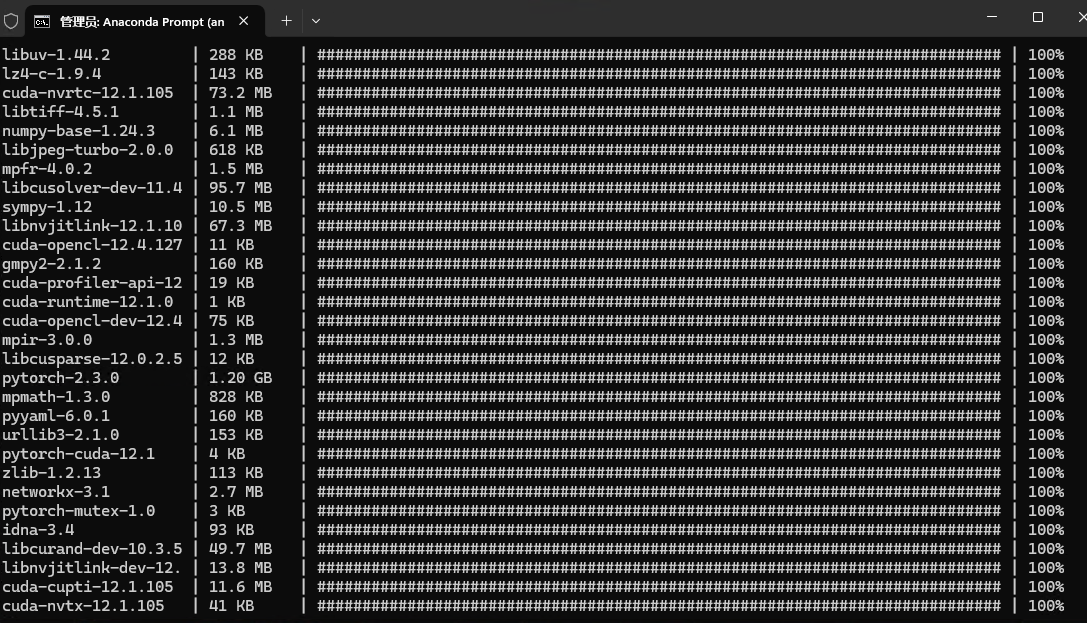
6、下面就等待这些$package$安装成功,可以看到$Pytorch$还是比较大的,所以耐心等待一下。如果下载过程中卡住的同学,直接到[torch镜像源](https://download.pytorch.org/whl/torch_stable.html)下载安装包进行安装,效果相同。
|
|
|
|
|
|
|
|
|
|
|
|
|
|
|
|
|
|
7、安装完成后,会提示信息$done$。
|
|
|
|
|
|

|
|
|
|
|
|
8、输入$pip$ $list$,查看我们的包是否被安装,这里可以看到$torch$相关的包都安装了。
|
|
|
|
|
|

|
|
|
|
|
|
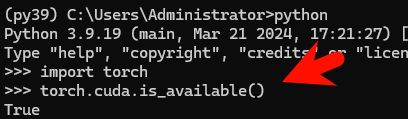
9、我们输入`python`进入下 $Python$ 环境,然后输入`
|
|
|
|
|
|
```python
|
|
|
import torch
|
|
|
```
|
|
|
|
|
|

|
|
|
|
|
|
如果没有报错说明可以导入成功。
|
|
|
|
|
|
|
|
|
|
|
|
10、输入
|
|
|
|
|
|
```py
|
|
|
torch.cuda.is_available()
|
|
|
```
|
|
|
|
|
|
查看$torch$是否可以使用显卡,$True$就代表可以!
|
|
|
|
|
|
 |