|
|
### 一、国内源下载
|
|
|
|
|
|
https://mirrors.tuna.tsinghua.edu.cn/anaconda/archive/
|
|
|
|
|
|
### 二、官网安装
|
|
|
|
|
|
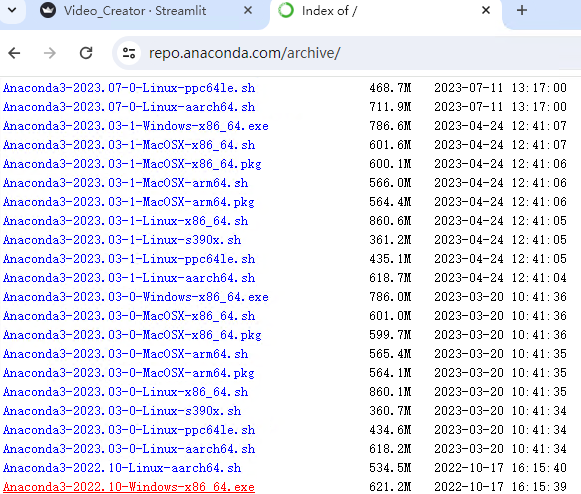
**1、首先进入官网 [https://repo.anaconda.com](https://repo.anaconda.com),选择$View$ $All$ $Installers$**
|
|
|
|
|
|

|
|
|
|
|
|
**2、这里是 $Anaconda$ 的各种安装包版本,$Anaconda3$就代表$Python3$的版本,后面是发行日期,我选择了2022.10的Windows版本,而且是64位的,下载到本地。**
|
|
|
|
|
|
|
|
|
|
|
|
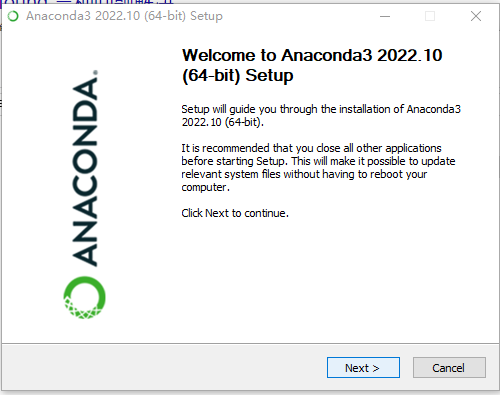
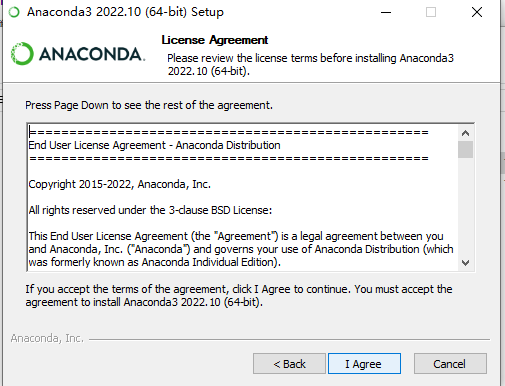
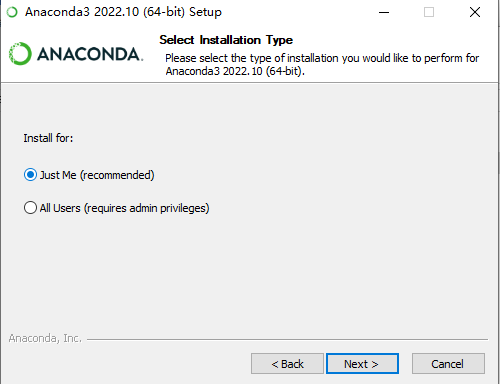
**3、运行安装包,然后跟着下面每一步操作。**
|
|
|
|
|
|
|
|
|
|
|
|
|
|
|
|
|
|
|
|
|
|
|
|
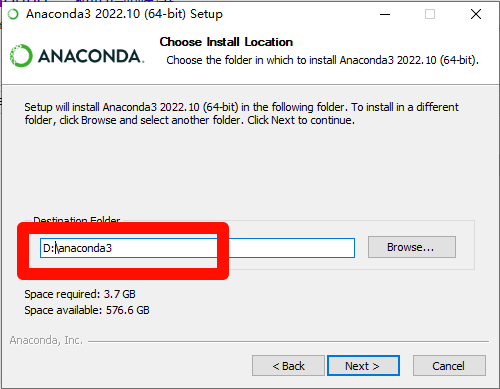
这一步是安装路径,我是放在了$D$盘中的$Anaconda3$文件夹中。
|
|
|
|
|
|
|
|
|
|
|
|
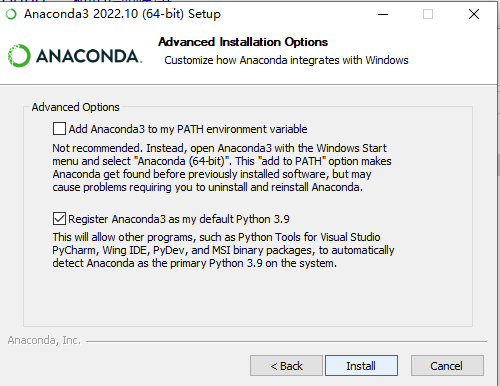
这一步显示默认环境是$Python3.9$,然后$install$
|
|
|
|
|
|
|
|
|
|
|
|
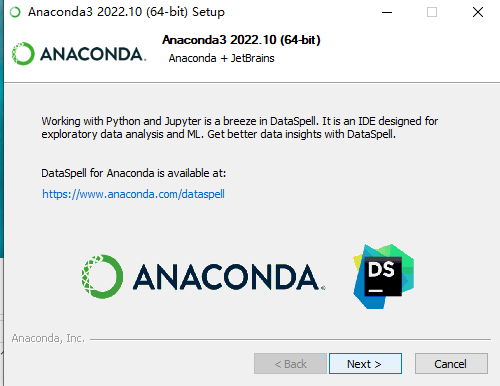
等待安装,安装过程不会很长。
|
|
|
|
|
|
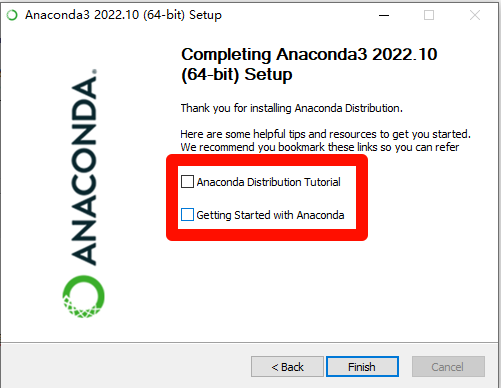
去掉两个框中的勾,然后$Finish$完成,至此安装成功。
|
|
|
|
|
|
|
|
|
|
|
|
|
|
|
|
|
|
|
|
|
|
|
|
**配置环境变量**
|
|
|
|
|
|
添加安装目录及相应$bin$目录到$Path$
|
|
|
|
|
|
```shell
|
|
|
setx PATH "%PATH%;G:\Anaconda3;G:\Anaconda3\Scripts;G:\Anaconda3\Library\bin;G:\Anaconda3\Library\mingw-w64\bin" /M
|
|
|
```
|
|
|
|
|
|
|
|
|
|
|
|
**配置国内镜像源**
|
|
|
|
|
|
查看当前配置的镜像源
|
|
|
|
|
|
```
|
|
|
conda config --show-sources
|
|
|
```
|
|
|
|
|
|
**输入下面命令配置为清华源**
|
|
|
|
|
|
```
|
|
|
conda config --add channels https://mirrors.tuna.tsinghua.edu.cn/anaconda/pkgs/free/
|
|
|
conda config --add channels https://mirrors.tuna.tsinghua.edu.cn/anaconda/pkgs/main/
|
|
|
conda config --add channels https://mirrors.tuna.tsinghua.edu.cn/anaconda/cloud/conda-forge/
|
|
|
```
|
|
|
|
|
|
**4、测试是否安装成功**
|
|
|
|
|
|
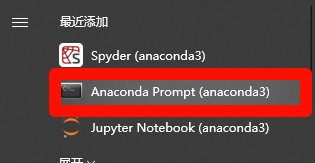
在菜单栏中打开$Anaconda$命令行,也就是$Anaconda$ $Prompt$($anaconda3$)
|
|
|
|
|
|
|
|
|
|
|
|
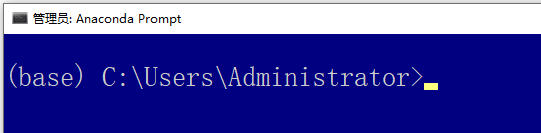
点击后,如果能在命令行左侧的括号中看到$base$,则代表安装成功!
|
|
|
|
|
|
|
|
|
|
|
|
|
|
|
|
|
|
**5、创建和激活环境**
|
|
|
|
|
|
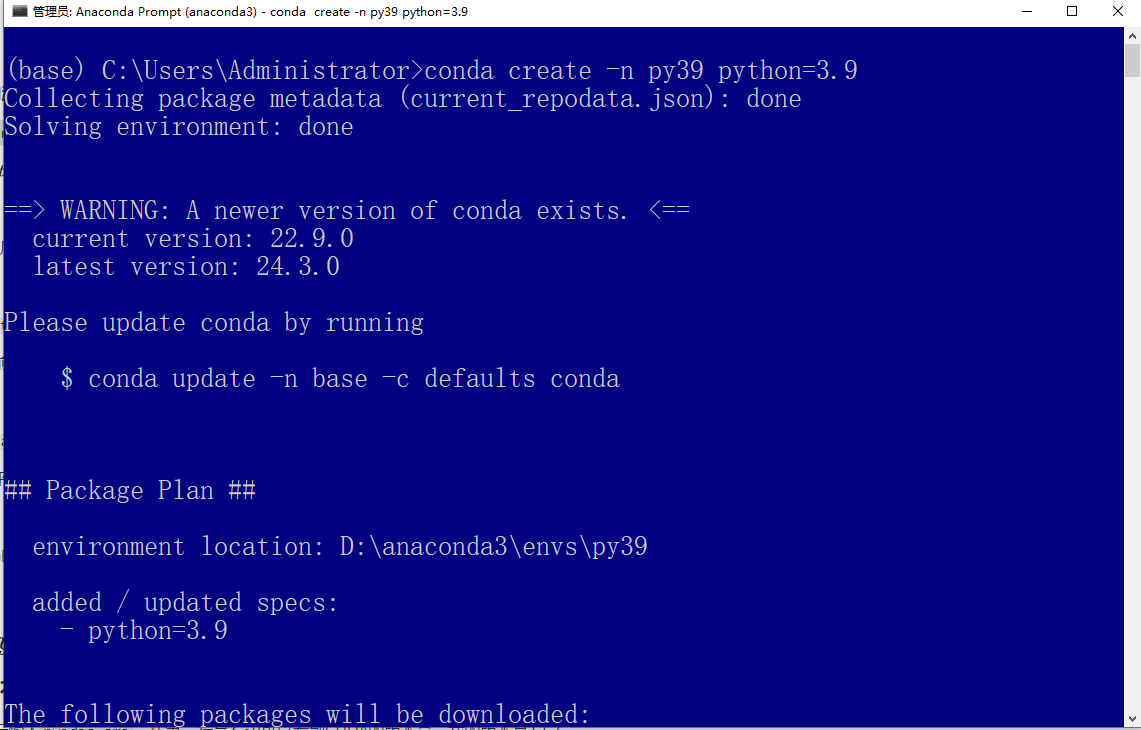
`conda create -n py39 python=3.9`
|
|
|
|
|
|
是创建$python3.9$版本,名称为$py39$的环境。这里环境名和$python$版本可以自己指定。
|
|
|
|
|
|
|
|
|
|
|
|
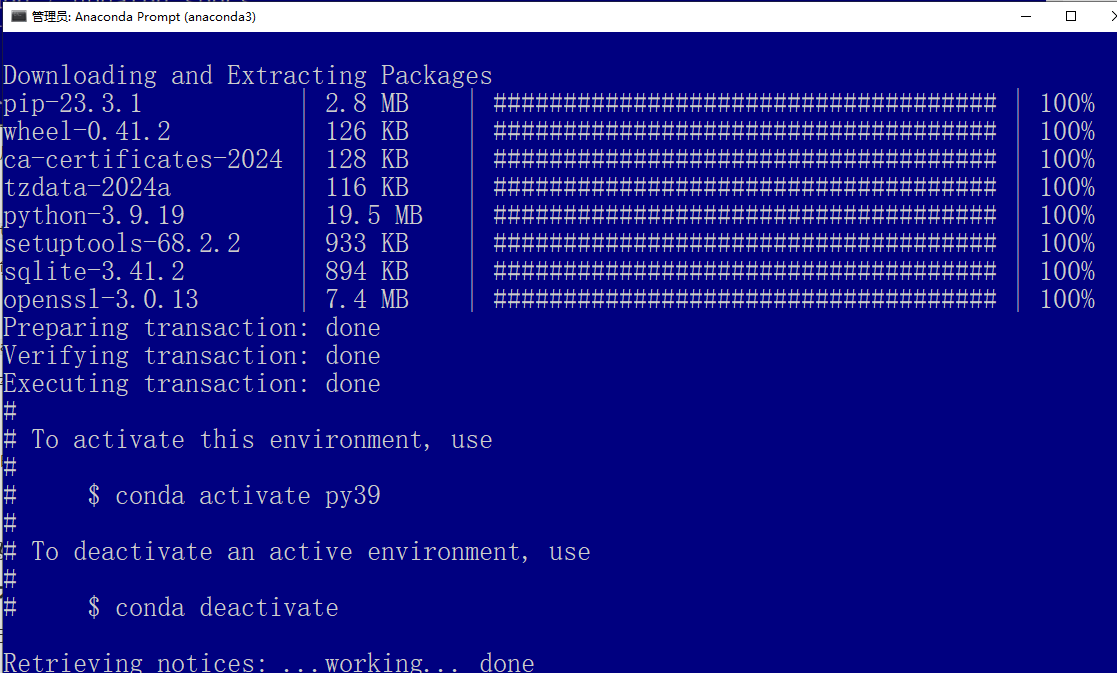
输入$y$,然后回车进行下载,下载和安装完会提示$done$,像这样就是安装好了。
|
|
|
|
|
|
|
|
|
|
|
|
|
|
|
|
|
|
**`conda activate py39`激活环境**
|
|
|
|
|
|
可以看到前面由$base$变成$py39$了,这就表示我们进入了该环境,大家可以直接把环境理解成文件夹。
|
|
|
|
|
|

|
|
|
|
|
|
|
|
|
|
|
|
**`conda deactivate` 退出环境**
|
|
|
|
|
|
就和我们平时用$cmd$命令行时$cd$切换目录很类似。
|
|
|
|
|
|

|
|
|
|
|
|
$Anaconda$的详细环境操作,可以看这里:[anaconda创建和删除环境](https://blog.csdn.net/qq_42257666/article/details/121435686)
|
|
|
|
|
|
|
|
|
|
|
|
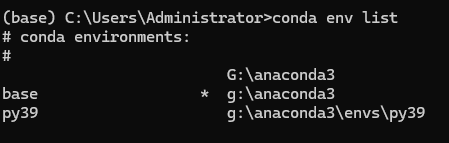
**查看已有的虚拟环境**
|
|
|
|
|
|
```conda env list```
|
|
|
|
|
|
|